Complete UI/UX Design 90-Day Learning Roadmap: Transform Your Career in 3 Months
The UI/UX design field in India is experiencing explosive growth with over 45,000 active job openings as of 2025, representing a 67% increase from just two years ago. Companies across technology, e-commerce, healthcare, and education sectors are desperately searching for skilled designers who can create user-centered digital experiences. This comprehensive 90-day roadmap will guide you from complete beginner to job-ready professional, following industry-proven methodologies taught at Frontlines Edutech.
Why UI/UX Design in 2025?
The demand for UI/UX designers has reached unprecedented levels, with entry-level professionals in cities like Bangalore earning between ₹4.5-7.2 lakhs per annum, while experienced designers command salaries ranging from ₹16-35 lakhs annually. According to recent surveys, UI/UX Designer ranks as the 8th fastest-growing profession globally for 2025-2030, with an estimated 45% growth in demand. Major companies including Infosys, TCS, Accenture, Wipro, Cognizant, and IBM are actively hiring, alongside tech giants like Google, Microsoft, and Amazon.
The Indian UX design industry is projected to reach $9 billion by 2025, creating thousands of career opportunities for skilled professionals. Whether you’re a fresh graduate, working professional looking to switch careers, or someone from a non-IT background, this structured learning path will equip you with market-ready skills.
What You’ll Achieve in 90 Days
By following this day-by-day roadmap, you will master the complete design process from user research to final prototype delivery, build a professional portfolio with real-world projects, learn industry-standard tools like Figma with advanced prototyping capabilities, understand design thinking methodologies used by top companies, and develop case studies that demonstrate your problem-solving abilities to potential employers.
🎨 Start Your UI/UX Design Journey
Become a professional UI/UX Designer in 90 days with hands-on projects, Figma training, and portfolio building. Begin today with our UI/UX Design Course.
Month 1: Building Your Foundation (Days 1-30)
Week 1: Getting Comfortable with Excel and AI (Days 1-7)
Week 1: Understanding UX Design Fundamentals (Days 1-7)
Day 1: Introduction to the Design World
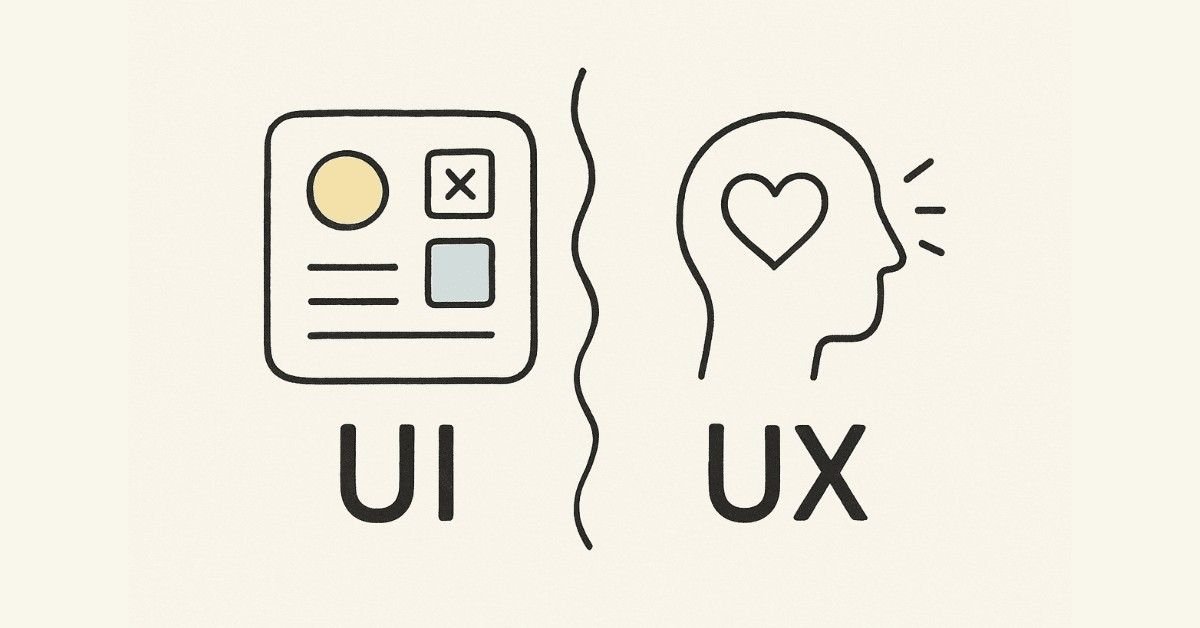
Begin your transformation by understanding what UI/UX design actually means and why it matters in today’s digital landscape. Spend time exploring the history and evolution of UX design, from early graphical user interfaces in the 1970s to modern design systems used by companies like Google and Apple. Learn the crucial difference between UX (User Experience) and UI (User Interface) design, and understand how they work together to create seamless digital products.
Daily Task: Write a personal reflection on what attracts you to UX design and identify which specialization resonates with you most—whether it’s UX Research, UI Design, Information Architecture, or Interaction Design. This reflection will guide your learning journey and help you focus on your strengths.
Day 2: Design Principles & Career Paths
Dive deep into the core principles that govern great UX design: usability, accessibility, and user-centered design. Understand how these principles apply to real products you use daily, from mobile apps to websites. Learn about different career paths available in UX design, including roles in product companies versus service companies, and what employers expect from entry-level designers.
Daily Task: Analyze three apps or websites you use regularly and identify which design principles they follow well and where they fall short. Document your observations with screenshots and notes.
Day 3: Design Thinking Introduction
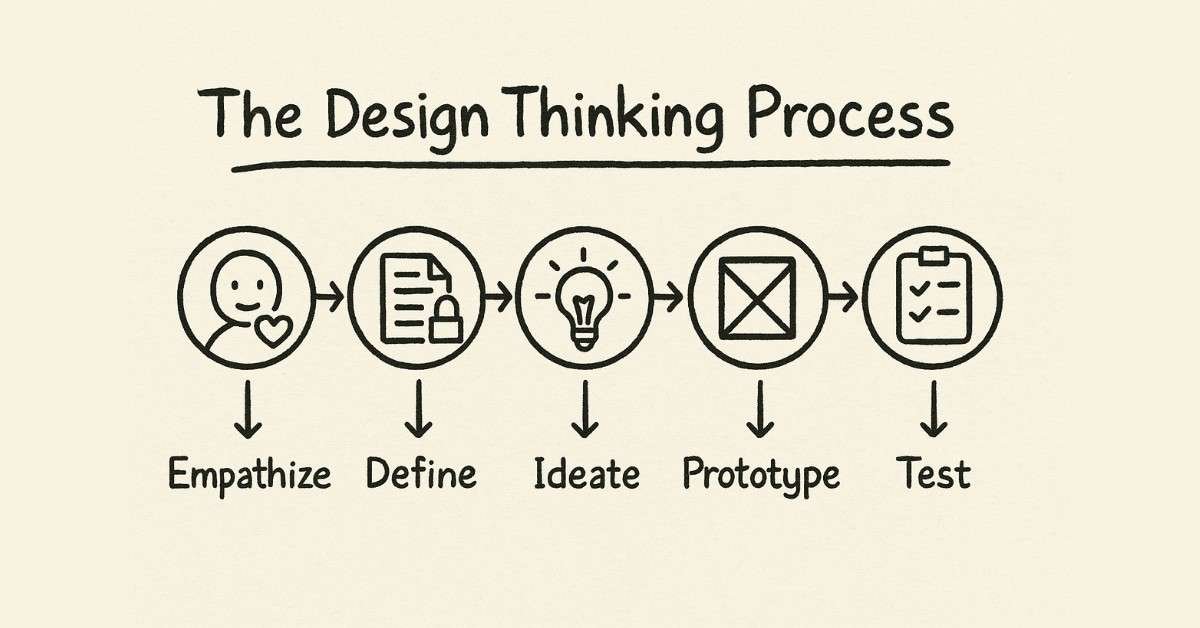
Learn the Design Thinking framework that forms the backbone of modern UX practice. Understand the five stages: Empathize, Define, Ideate, Prototype, and Test, and how each stage contributes to solving user problems. Explore alternative methodologies including the Double Diamond process, Lean UX, and Agile UX approaches.
Daily Task: Choose a design methodology that aligns with your thinking style and write down how you would apply it to improve a product you use daily.
Day 4: Understanding Users
Today marks your entry into the world of user research. Learn why understanding users is the foundation of all good design and how to identify who your users actually are. Explore the difference between assumptions about users and data-driven insights that come from proper research.
Daily Task: Select a product or service you recently used and reflect deeply on your experience—what worked well, what frustrated you, and what emotions you felt during the interaction.
Day 5: Qualitative Research Methods
Master qualitative research techniques that help you gather rich, detailed insights about user behavior. Learn how to conduct effective user interviews, organize focus groups, design diary studies, and facilitate participatory design sessions. Understand when to use each method and how to prepare interview questions that reveal genuine user needs rather than surface-level preferences.
Daily Task: Conduct your first real user interview with a friend or family member about their experience using a specific app or website. Record their responses (with permission) and note their pain points and frustrations.
Day 6: Quantitative Research & Empathy Mapping
Balance your research skills by learning quantitative methods including surveys, questionnaires, analytics analysis, and metrics interpretation. Discover how to create effective surveys that yield actionable data and how to combine quantitative data with qualitative insights for a complete user understanding. Learn the powerful technique of empathy mapping to visualize what users say, think, do, and feel.
Daily Task: Create a comprehensive empathy map based on the user interview you conducted yesterday. Identify their pain points, frustrations, and emotional journey through the product experience.
Day 7: Week Review & Competitive Analysis
Consolidate your learning from Week 1 by understanding competitive analysis—how to study competitor products to identify opportunities for differentiation. Learn systematic approaches to evaluating competing solutions and identifying gaps in the market.
Daily Task: Complete a competitive analysis of three similar products in a category of your choice. Document their strengths, weaknesses, and unique features in a structured format.
💡Practice Real UX Research Tasks
Apply everything you’ve learned with practical, step-by-step tutorials inside our UI/UX
Week 2: Defining Problems & Creating Personas (Days 8-14)
Day 8: Problem Statement Creation
Learn the art of defining clear, actionable problem statements that guide the entire design process. Understand how to use “How Might We” (HMW) questions to reframe challenges into opportunities. Practice writing problem statements that are specific enough to be actionable but broad enough to allow creative solutions.
Daily Task: Based on your user research from Week 1, write three different “How Might We” questions that address the key pain points you discovered.
Day 9: Understanding User Personas
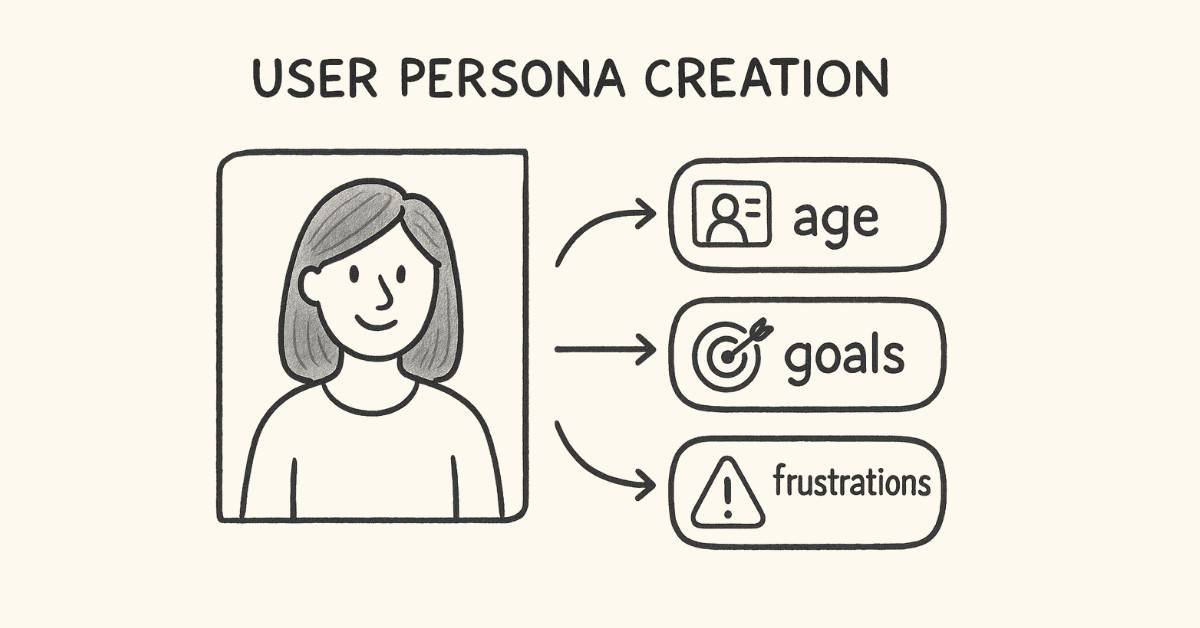
Discover how to create user personas that bring research data to life. Learn what makes a persona useful versus decorative, and understand the key elements including demographics, goals, behaviors, pain points, and motivations. Explore how personas guide design decisions throughout the product development process.
Daily Task: Create your first detailed user persona for your chosen project audience. Include a name, photo, background, goals, frustrations, and typical behaviors.
Day 10: Business Goals vs User Goals
Understand the critical balance between user needs and business objectives. Learn how to identify business goals and ensure they align with user goals rather than conflict with them. Explore real-world examples of products that successfully balance both aspects and those that prioritize one over the other.
Daily Task: For your project, clearly define both user goals and business goals, then identify where they align and where tensions might exist.
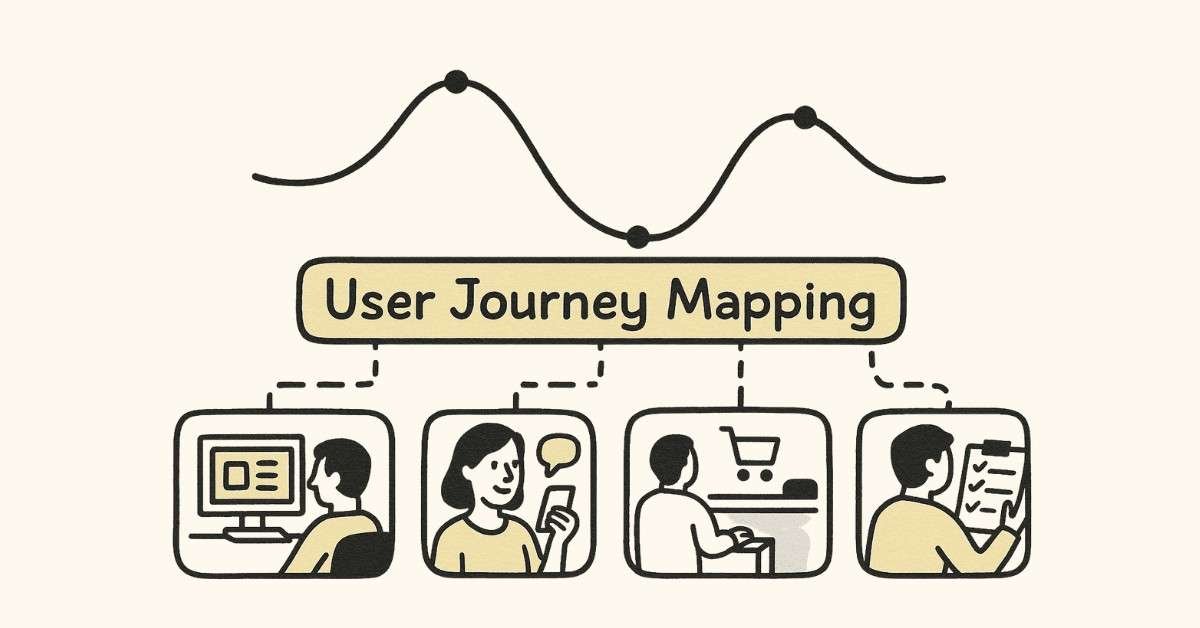
Day 11: User Journey Mapping
Master the technique of user journey mapping to visualize the complete user experience across touchpoints. Learn how to map user actions, thoughts, emotions, and pain points at each stage of their interaction with a product or service. Understand the difference between current-state journey maps (as-is) and future-state journey maps (to-be).
Daily Task: Create a comprehensive user journey map for a common scenario related to your project, such as making an online purchase or booking a service.
Day 12: Information Architecture Fundamentals
Dive into Information Architecture (IA)—the practice of organizing and structuring content so users can easily find what they need. Learn about different types of IA including hierarchical, sequential, matrix, and database structures. Understand the difference between Information Architecture and user flow diagrams.
Daily Task: Create an Information Architecture diagram for your project, organizing all the content and features in a logical, user-friendly structure.
Day 13: Scope Definition & Feasibility
Learn how to define project scope using the Feasibility-Viability-Desirability framework. Understand what makes a design solution feasible from a technical perspective, viable from a business perspective, and desirable from a user perspective. Practice prioritizing features based on impact and effort.
Daily Task: Evaluate your project ideas using the Feasibility-Viability-Desirability lens and prioritize which features to include in your design.
Day 14: Week Review & Project Consolidation
Consolidate all your learning from Weeks 1 and 2 by reviewing your user personas, journey maps, and Information Architecture. Ensure all elements align with each other and accurately reflect your research findings.
Daily Task: Revise and refine your user personas and journey maps based on everything you’ve learned this week. Prepare a presentation folder with all your research artifacts.
Week 3: Ideation & Wireframing (Days 15-21)
Day 15: Design Ideation Techniques
Enter the creative phase of design with structured ideation techniques. Learn how to move from research insights to creative solutions using proven brainstorming methods. Understand the difference between divergent thinking (generating many ideas) and convergent thinking (narrowing to the best solutions).
Daily Task: Based on your problem statements from Week 2, brainstorm 10-15 different solution ideas without judging their feasibility. Let your creativity flow freely.
Day 16: 8s & Rapid Sketching
Master the 8s technique—a time-constrained sketching exercise that forces rapid idea generation. Learn how to sketch 8 different design concepts in just 8 minutes, overcoming perfectionism and accessing your creative instincts. Practice rapid visualization techniques that communicate ideas quickly.
Daily Task: Complete the 8s exercise for one key screen or feature of your project. Create 8 distinct design approaches within the time limit.
Day 17: SCAMPER Technique & Affinity Diagrams
Apply the SCAMPER method (Substitute, Combine, Adapt, Modify, Put to another use, Eliminate, Reverse) to generate innovative design solutions. Learn how to use affinity diagrams to group similar ideas and identify patterns in your ideation output.
Daily Task: Use SCAMPER to generate 3-5 new ideas for solving your user’s main pain point. Then create an affinity diagram organizing all your ideas from Days 15-17 into logical groups.
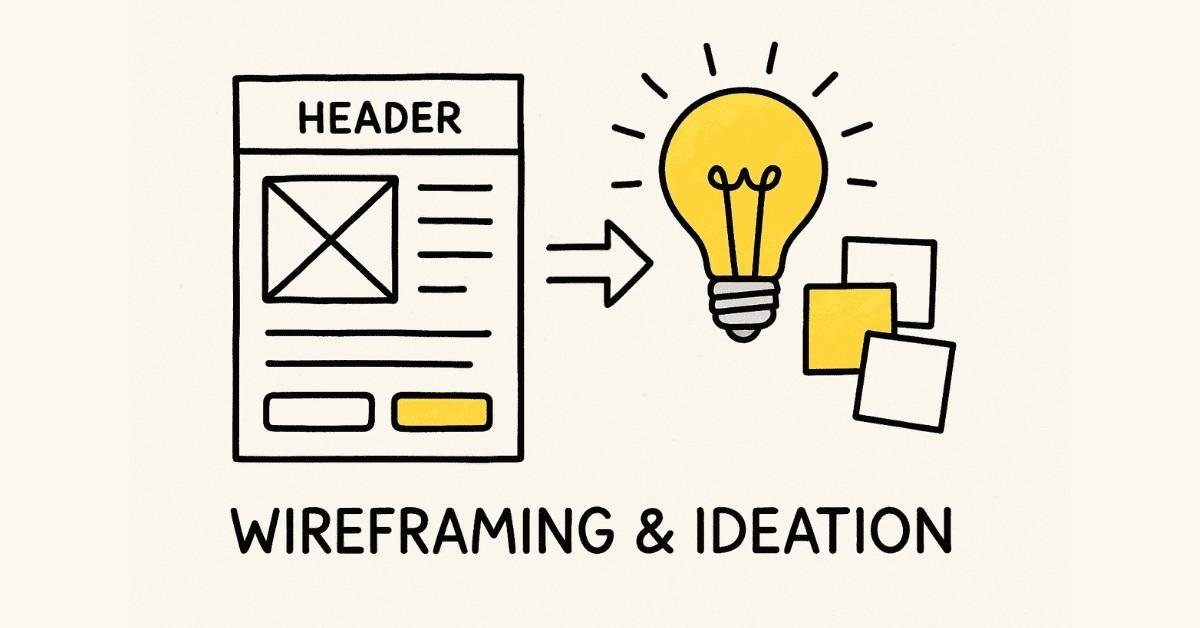
Day 18: Introduction to Wireframing
Understand what wireframes are and why they’re essential in the design process. Learn the difference between paper prototypes and digital wireframes, and when to use each approach. Explore low-fidelity versus high-fidelity wireframes and understand how fidelity affects feedback and iteration speed.
Daily Task: Sketch paper wireframes for the main screens of your project on physical paper. Focus on layout, content hierarchy, and user flow rather than visual details.
Day 19: Site Maps & User Flows
Learn how to create site maps that show the complete structure of your design and user flows that illustrate how users navigate through your interface to complete tasks. Understand the symbols and conventions used in flow diagrams and how to communicate complex interactions clearly.
Daily Task: Create a detailed site map showing all the pages/screens in your project and draw user flow diagrams for the three most important user tasks.
Day 20: Creating Low-Fidelity Digital Wireframes
Transition from paper to digital by learning basic wireframing tools and techniques. Understand the purpose of low-fidelity wireframes—to communicate structure and functionality without getting distracted by visual design details. Learn which elements to include at this stage and which to defer.
Daily Task: Convert your best paper wireframes into digital low-fidelity wireframes using any tool you’re comfortable with. Include all key screens for your primary user flow.
Day 21: Week Review & Wireframe Refinement
Review all wireframes created this week and get feedback from peers, friends, or mentors. Learn how to incorporate feedback constructively and identify which suggestions align with user needs versus personal preferences.
Daily Task: Revise your low-fidelity wireframes based on feedback received. Prepare a complete wireframe set for your project’s main functionality.
Week 4: Design Foundations & Tools (Days 22-30)
Day 22: Design Elements & Principles
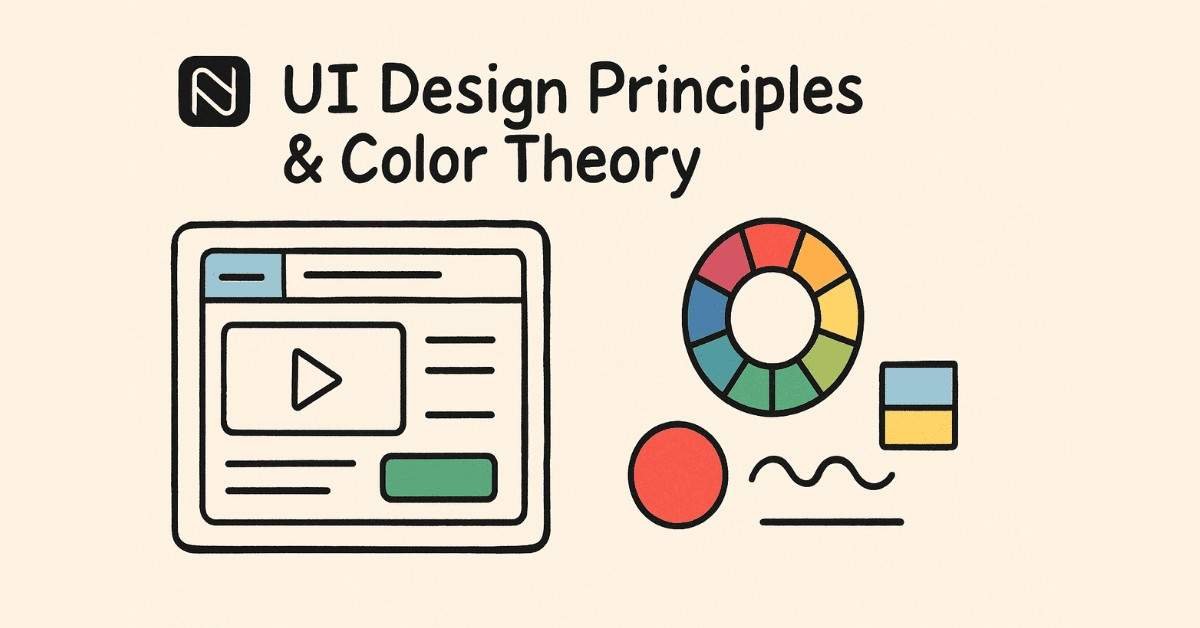
Begin learning visual design fundamentals that will elevate your wireframes into polished interfaces. Study the elements of design including line, shape, form, texture, and color, and understand how each contributes to visual communication. Learn design principles such as balance, contrast, emphasis, unity, proportion, and rhythm.
Daily Task: Find examples of each design principle in real websites or apps and create a mood board documenting excellent visual design.
Day 23: Color Theory for Digital Design
Master color theory specifically for UI design. Learn about color models (RGB vs CMYK), color psychology, creating color palettes, establishing visual hierarchy through color, and ensuring accessibility with proper color contrast. Understand the 60-30-10 rule for color distribution in interfaces.
Daily Task: Create three different color palette options for your project, considering your target audience and the emotions you want to evoke. Test each palette for accessibility using contrast checkers.
Day 24: Typography in UI Design
Discover the critical role typography plays in user experience. Learn about font families, font pairing principles, typographic hierarchy, readability versus legibility, and responsive typography. Understand how to choose fonts that reflect brand personality while maintaining usability.
Daily Task: Select and document your project’s typography system including primary and secondary fonts, font sizes for different hierarchy levels, line heights, and letter spacing.
Day 25: Layout, Composition & Visual Hierarchy
Learn how to organize interface elements to guide user attention effectively. Understand grid systems, whitespace usage, Z-pattern and F-pattern reading behaviors, and how to create focal points. Study Gestalt principles including proximity, similarity, continuity, closure, and figure-ground.
Daily Task: Analyze the visual hierarchy of three well-designed websites and document how they guide user attention. Apply these principles to improve your own wireframe layouts.
Day 26: Introduction to Figma
Begin your hands-on journey with Figma, the industry-standard design tool required by 97% of UI/UX job postings in 2025. Learn basic navigation, interface elements, creating and organizing frames, drawing shapes, grouping layers, and understanding the layer panel.
Daily Task: Complete Figma’s official tutorial and recreate a simple website homepage design to familiarize yourself with the tool’s basic features.
Day 27: Advanced Figma Fundamentals
Deepen your Figma skills by learning text tools, Google Fonts integration, font styling options, color management, creating and applying color styles, gradient tools, and organizing design elements. Understand the power of styles and how they maintain design consistency.
Daily Task: Create a design system starter kit in Figma with your project’s colors, typography styles, and basic UI elements like buttons and form fields.
Day 28: Design System Elements & Components
Learn what makes great UI components and how to design common interface elements including buttons, input fields, navigation menus, cards, icons, and form components. Understand the anatomy of each component and the interactive states they require (default, hover, active, disabled, error, etc.).
Daily Task: Design a complete set of reusable UI components in Figma for your project. Include at least three different button styles, input fields, and common interface patterns.
Day 29: Building Digital Wireframes in Figma
Apply everything learned this week to create polished digital wireframes in Figma. Transform your low-fidelity wireframes into mid-fidelity designs that incorporate proper typography, color, spacing, and visual hierarchy while still focusing on functionality over decoration.
Daily Task: Recreate all your main project screens in Figma as mid-fidelity digital wireframes. Use your design system components and ensure consistent spacing and alignment.
Day 30: Month 1 Review & Portfolio Foundation
Celebrate completing Month 1 by reviewing everything you’ve created: research artifacts, personas, journey maps, wireframes, and design system components. Begin organizing these materials for your future portfolio.
Daily Task: Create a project presentation documenting your entire process from research to wireframes. Write brief descriptions explaining your decisions at each stage. This forms the foundation of your first portfolio case study.
What You’ve Accomplished in Month 1
By Day 30, you’ve transformed from complete beginner to someone with solid UX research skills, a systematic design process, and practical tool knowledge. You understand users deeply through research, can define problems clearly, generate creative solutions, and communicate your ideas through professional wireframes. Most importantly, you’ve started building your portfolio with a well-documented project case study that demonstrates your thinking process.
The job market data shows that these foundational skills are exactly what entry-level positions require. Companies prioritize candidates who demonstrate strong research abilities (required by 85% of job postings), design thinking methodology (mentioned by 92%), and proficiency with industry tools like Figma (required by 97% of roles).
Ready to continue to Month 2? In the next 30 days, you’ll transform your wireframes into high-fidelity prototypes, master advanced Figma techniques, conduct usability testing, and begin learning the advanced concepts that separate good designers from great ones.
🧠 Prepare for UI/UX Interviews
Boost your confidence with 200+ real design interview questions, case study breakdowns, and whiteboard challenge tips in our
UI/UX Interview Preparation Guide.
Month 2:Mastering Visual Design & Prototyping (Days 31-60)
Week 5: Components, Auto Layout & Responsive Design (Days 31-37)
Day 31: Creating Reusable Components in Figma
Welcome to Month 2, where you’ll transform your wireframes into polished, professional designs. Today, learn the power of components—reusable design elements that maintain consistency across your entire project. Understand the difference between main components and instances, how changes to the main component automatically update all instances, and why this saves countless hours in large projects.
Daily Task: Convert all the UI elements you created in Week 4 into proper Figma components. Create button components with different states (default, hover, pressed, disabled), input field components, and navigation elements.
Day 32: Component Variants & Nested Components
Take your component skills to the next level by learning variants—a powerful Figma feature that lets you create multiple versions of a component within a single master component. Understand how to create button variants for different sizes and styles, form field variants for different states, and icon variants for different themes. Learn about nested components—placing components inside other components for maximum flexibility.
Daily Task: Rebuild your button component system using variants that include size options (small, medium, large), style options (primary, secondary, ghost), and state options (default, hover, active, disabled).
Day 33: Auto Layout Fundamentals
Master Auto Layout, one of the most important Figma features for creating responsive, production-ready designs. Learn how Auto Layout automatically adjusts spacing, padding, and alignment as content changes. Understand horizontal and vertical stacking, spacing between items, padding around containers, and how Auto Layout mimics CSS flexbox behavior that developers use.
Daily Task: Apply Auto Layout to your navigation menu, button components, and card layouts. Practice making elements that expand and contract naturally when content changes.
Day 34: Building Responsive Designs with Constraints
Learn how to make your designs adapt to different screen sizes using constraints and scaling. Understand Figma’s constraint system that controls how elements behave when their parent frame resizes. Master pinning objects to specific sides, stretching elements proportionally, and creating truly responsive layouts that work across desktop, tablet, and mobile viewports.
Daily Task: Create three versions of your main project screen: desktop (1440px), tablet (768px), and mobile (375px) using constraints and Auto Layout to minimize duplicate work.
Day 35: Grid Systems & Column Layouts
Dive deep into grid systems that provide structure and consistency to your layouts. Learn about different grid types including layout grids (for overall page structure), column grids (for responsive designs), and baseline grids (for vertical rhythm). Understand the 12-column grid system used by Bootstrap and Material Design, and how to apply grid theory to your own projects.
Daily Task: Set up a proper grid system for your project across all screen sizes. Ensure all elements align to the grid for visual consistency and easier developer handoff.
Day 36: Design Systems & Component Libraries
Understand what makes a comprehensive design system and why companies invest heavily in creating them. Learn about famous design systems including Material Design by Google, Apple’s Human Interface Guidelines, and IBM’s Carbon Design System. Explore how design systems maintain consistency across teams and products, speed up design work, and ensure brand cohesion.
Daily Task: Begin building your own mini design system library in Figma with all your components, color styles, text styles, and spacing tokens organized and documented.
Day 37: Week Review & Design System Documentation
Consolidate everything learned this week by organizing and documenting your component library. Learn how to name components logically for easy searching, create a cover page for your design system, and add descriptions explaining when to use each component.
Daily Task: Create a comprehensive design system file in Figma that includes all your components with proper naming, organization, and usage guidelines. This becomes a portfolio piece demonstrating your systematic thinking.
Week 6: Advanced Prototyping & Interactions (Days 38-44)
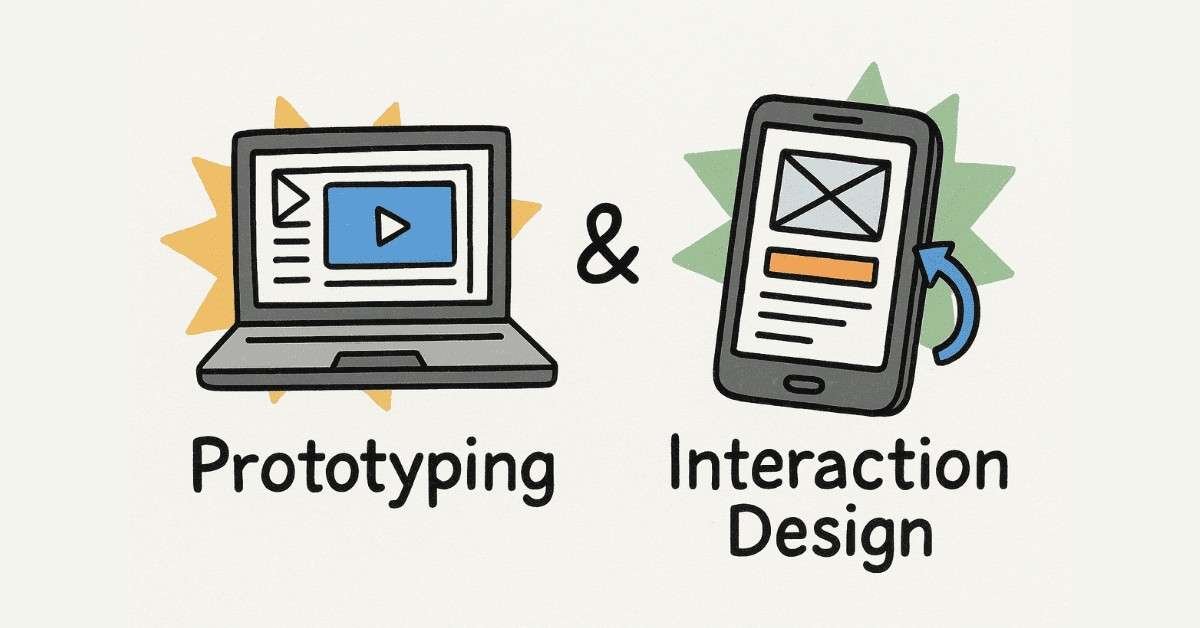
Day 38: Introduction to Prototyping
Begin creating interactive prototypes that bring your designs to life. Learn the difference between low-fidelity prototypes (for testing concepts) and high-fidelity prototypes (for testing detailed interactions). Understand when to use each type and how prototyping helps validate design decisions before development begins.
Daily Task: Create a basic clickable prototype of your project’s main user flow using Figma’s prototyping feature. Connect your screens so users can navigate through the primary task.
Day 39: Advanced Interactions & Animations
Master advanced prototyping features including smart animate, overlays, scroll behaviors, and fixed elements. Learn how to create micro-interactions—small animated responses that provide feedback and delight users. Understand easing curves, animation duration, and spring animations that make interfaces feel responsive and polished.
Daily Task: Add micro-interactions to your prototype including button hover states, smooth transitions between screens, and animated loading states.
Day 40: Conditional Logic & Interactive Components
Explore Figma’s advanced prototyping capabilities including conditional logic and interactive component variants. Learn how to create components that respond to user actions without switching screens, such as toggles that change state, dropdowns that expand and collapse, and tabs that switch content.
Daily Task: Create at least three interactive components for your project such as a working dropdown menu, a toggle switch, or a multi-step form with validation feedback.
Day 41: Prototyping Complex Flows
Learn how to prototype multi-step processes including onboarding flows, checkout processes, and form submissions. Understand how to handle error states, success messages, and navigation patterns that let users move forward and backward through processes.
Daily Task: Prototype a complete user journey for your project’s most important feature, including success paths, error states, and recovery options.
Day 42: Design Handoff Preparation
Learn what developers need from designers to implement designs accurately. Understand the importance of naming layers properly, organizing frames logically, providing spacing and sizing specifications, and documenting interactive behaviors. Explore how to use Figma’s inspect panel effectively and export assets in the right formats.
Daily Task: Prepare your Figma file for developer handoff by organizing all layers, adding clear naming conventions, and creating annotations for complex interactions.
Day 43: Figma Plugins & Workflow Optimization
Discover essential Figma plugins that speed up your workflow and enhance your designs. Learn about plugins for content generation (Lorem Ipsum alternatives), icon libraries (Iconify, Material Icons), accessibility checking (Stark, A11y), image management (Unsplash, Remove BG), and design system management.
Daily Task: Install and test at least five Figma plugins that solve specific problems in your workflow. Use them to enhance your current project.
Day 44: Week Review & Complete Prototype
Complete your high-fidelity prototype incorporating all interactions, animations, and states learned this week. Test your prototype yourself by going through every possible user path and identifying any missing connections or inconsistent behaviors.
Daily Task: Finish your complete interactive prototype and test it thoroughly. Document any issues you discover and note improvements for the next iteration.
Week 7: Usability Testing & Iteration (Days 45-51)
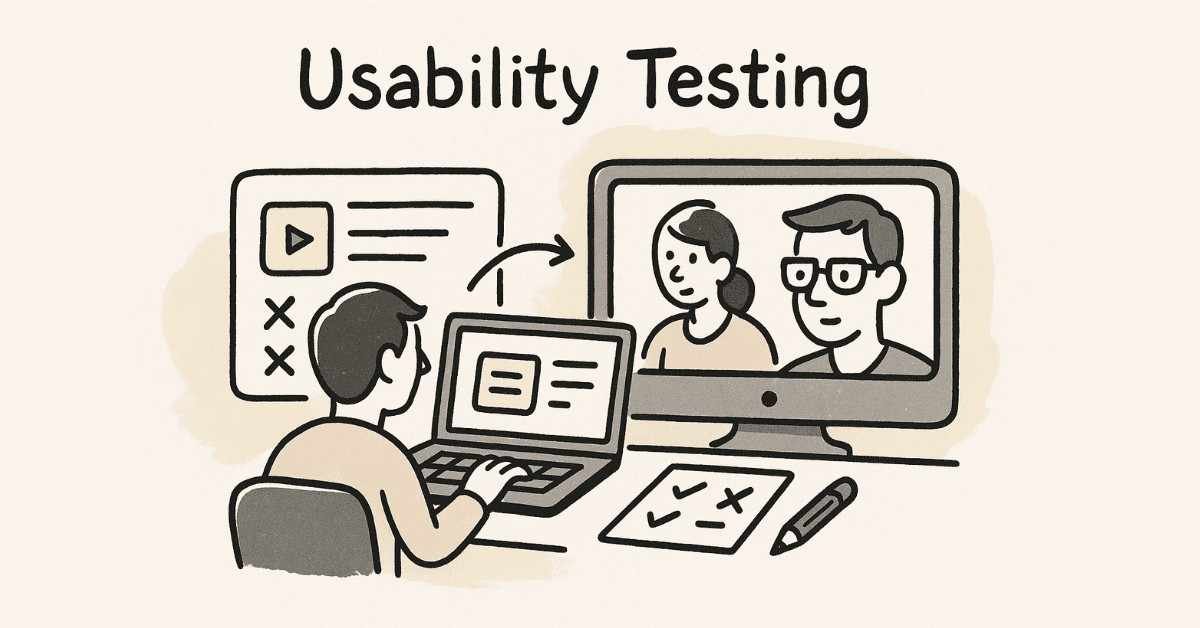
Day 45: Introduction to Usability Testing
Learn why testing with real users is crucial for creating successful designs and how to plan effective usability tests. Understand different testing methods including moderated testing (where you observe users), unmoderated testing (users complete tasks independently), remote testing versus in-person testing, and when to use each approach.
Daily Task: Create a usability testing plan for your project including test objectives, tasks for participants to complete, and questions you want answered.
Day 46: User Testing Methods Deep Dive
Explore various testing techniques beyond basic usability testing. Learn about eye tracking (understanding where users look), card sorting (understanding how users categorize information), tree testing (evaluating navigation structure), first-click testing (identifying where users expect to click), five-second tests (gauging first impressions), and guerrilla testing (quick informal tests).
Daily Task: Conduct first-click testing and five-second tests with at least three people using your prototype. Document where they clicked first and their initial impressions.
Day 47: Conducting Prototype Testing
Run a formal usability test session with real users. Learn how to introduce the test without biasing participants, ask open-ended questions, observe without interfering, take effective notes, and handle technical difficulties that arise during testing.
Daily Task: Conduct moderated usability testing sessions with 3-5 participants. Have them complete key tasks in your prototype while thinking aloud about their experience.
Day 48: Expert Evaluation Methods
Learn evaluation methods that don’t require user participants. Study heuristic evaluation using Nielsen’s 10 usability heuristics, cognitive walkthroughs where you systematically analyze user tasks, and expert reviews from experienced designers. Understand when these methods complement user testing and when they can substitute for it in time-constrained situations.
Daily Task: Conduct a heuristic evaluation of your own design using Nielsen’s 10 heuristics. Identify violations and rate their severity.
Day 49: Accessibility Testing & WCAG Guidelines
Ensure your designs work for everyone including people with disabilities. Learn about Web Content Accessibility Guidelines (WCAG) and the four principles: Perceivable, Operable, Understandable, and Robust. Test your designs with screen readers, check keyboard navigation, verify color contrast ratios meet standards, and ensure text is readable and scalable.
Daily Task: Run accessibility checks on your design using tools like Stark or WAVE. Fix any color contrast issues and ensure all interactive elements are keyboard accessible.
Day 50: Analyzing & Synthesizing Test Results
Learn how to make sense of testing data and translate findings into actionable improvements. Create affinity diagrams to group similar feedback, identify patterns in user behavior, prioritize issues based on frequency and severity, and distinguish between personal preferences versus genuine usability problems.
Daily Task: Analyze all the testing feedback you’ve gathered this week. Create a prioritized list of issues to address in your next design iteration.
Day 51: Week Review & Design Iteration
Based on your testing insights, redesign and refine problem areas in your prototype. Learn to balance user feedback with business requirements and technical constraints. Understand that design is iterative—no one creates perfect designs on the first attempt.
Daily Task: Implement the top priority improvements identified from your usability testing. Create version 2.0 of your digital wireframes incorporating all learnings.
Week 8: Advanced UX Concepts & Laws (Days 52-60)
Day 52: Fundamental UX Laws
Master the psychological principles that govern how users interact with interfaces. Learn Fitts’s Law (larger targets are easier to click), Hick’s Law (more choices increase decision time), Jakob’s Law (users prefer familiar patterns), Miller’s Law (people remember 7±2 items), and Tesler’s Law (complexity cannot be eliminated, only moved).
Daily Task: Review your design and identify opportunities to apply each UX law. Make adjustments that improve usability based on these principles.
Day 53: More UX Principles & Effects
Deepen your understanding with additional principles including Parkinson’s Law (work expands to fill time available), the Peak-End Rule (people judge experiences by peaks and endings), the Aesthetic-Usability Effect (attractive designs are perceived as more usable), and Doherty Threshold (400ms response time keeps users engaged).
Daily Task: Identify the peak moments and endings in your user journey. Optimize these critical touchpoints for maximum positive impact.
Day 54: Interaction Design Principles
Learn the five dimensions of interaction design: words (the text users read), visual representations (graphics and icons), physical objects (mouse, keyboard, touchscreen), time (animations and sounds), and behavior (how users manipulate the interface). Understand how these dimensions work together to create intuitive interactions.
Daily Task: Audit each dimension of interaction design in your project. Enhance at least two dimensions based on best practices.
Day 55: Emotional Design
Explore how design evokes emotions and builds connections with users. Learn about the three levels of emotional design: visceral (immediate emotional impact), behavioral (pleasure from use), and reflective (long-term memories and meaning). Understand how to design for delight, not just function.
Daily Task: Identify opportunities to add delightful moments in your user experience that go beyond basic functionality. Implement at least one emotionally engaging element.
Day 56: Advanced Design Systems
Study enterprise-level design systems in depth. Analyze Material Design (Google’s comprehensive design language), Apple Design System (iOS and macOS guidelines), and Carbon Design System (IBM’s open-source framework). Understand design tokens, component architecture, and governance models that keep systems consistent at scale.
Daily Task: Choose one major design system and study how they document components, handle spacing, manage colors, and ensure accessibility. Apply insights to improve your own design system.
Day 57: Understanding Stakeholders
Learn about the different stakeholders involved in product development. Understand internal stakeholders (product managers, developers, marketing teams, executives) and external stakeholders (clients, end users, regulatory bodies). Learn how to identify primary, secondary, and tertiary stakeholders and their varying levels of influence.
Daily Task: Create a stakeholder map for your project identifying who would be involved in bringing it to life and what their concerns would be.
Day 58: Collaboration & Agile Design
Learn how designers work within Agile development processes. Understand design sprints (time-boxed collaborative problem-solving), Lean UX (building-measuring-learning rapidly), and how to collaborate effectively with developers and product managers. Explore tools and practices for remote collaboration including design reviews, critique sessions, and asynchronous feedback.
Daily Task: Practice presenting your design decisions by recording a 5-minute walkthrough of your project explaining your choices and the research behind them.
Day 59: Ethics & Sustainable Design
Understand the ethical responsibilities of designers. Learn about dark patterns (deceptive design practices to avoid), privacy-first design, sustainable digital design that reduces energy consumption, and inclusive design that doesn’t exclude any users. Explore the concept of design for social good.
Daily Task: Audit your design for any potentially manipulative patterns. Ensure your design respects user autonomy, privacy, and makes ethical choices transparent.
Day 60: Month 2 Review & Advanced Project
Celebrate completing Month 2 by reviewing how far you’ve come. Your designs now include advanced interactions, follow established UX principles, have been tested with users, and reflect sophisticated understanding of design systems and collaboration.
Daily Task: Update your case study with all the work from Month 2 including usability testing insights, design iterations, and the final high-fidelity prototype. Document the improvements between version 1.0 and version 2.0.
🚀 Build Professional-Grade UI/UX Projects
Master Figma, prototyping, interactions, and usability testing with our
UI/UX Advanced Course.
Month 3: Professional Portfolio & Job Readiness (Days 61-90)
Week 9: Portfolio Development & Case Studies (Days 61-67)
Day 61: Understanding Portfolio Purpose
Begin your final month focused entirely on landing your first UI/UX role. Learn what makes a compelling portfolio and why case studies matter more than final designs. Understand what recruiters and hiring managers look for: problem-solving ability, design process, research skills, and communication clarity.
Daily Task: Research 10-15 successful UI/UX portfolios from working designers. Note common patterns, presentation styles, and what makes each memorable.
Day 62: Analyzing Successful Portfolios
Study award-winning portfolios in detail to understand what separates good from great. Look for clarity in problem definition, depth of research, thoroughness of process documentation, quality of visual presentation, and authenticity of voice. Learn that portfolios tell your design story, not just showcase pretty pictures.
Daily Task: Create a comparison document analyzing three excellent portfolios and identifying specific elements you want to incorporate into your own.
Day 63: Defining Personal Brand & Career Goals
Establish your unique designer identity. Clarify what type of designer you want to be (generalist, specialist in UX research, UI focused, etc.), which industries interest you most (fintech, healthcare, education, e-commerce), and what your career goals are for the next 1-3 years. Understanding this guides every portfolio decision.
Daily Task: Write your personal design philosophy and career positioning statement. This becomes the foundation of your portfolio’s About page.
Day 64: Structuring Effective Case Studies
Master the art of case study storytelling. Learn the ideal structure: compelling title and project summary, problem statement and context, your role and timeline, research methods and insights, ideation and exploration, design solutions with rationale, testing and iteration, final outcomes and impact, and reflections on learnings.
Daily Task: Outline your first major case study following this structure. Focus on telling a coherent story from problem to solution.
Day 65: Balancing Visuals & Text in Case Studies
Learn to create case studies that are scannable yet comprehensive. Understand the 70-30 rule (70% visuals, 30% text), using annotated screenshots effectively, creating before-after comparisons, showing wireframes alongside final designs, and incorporating user quotes from research. Balance depth with readability.
Daily Task: Begin designing your first case study presentation in Figma or your chosen tool. Focus on visual hierarchy and storytelling flow.
Day 66: Gathering & Organizing Project Assets
Compile all materials needed for portfolio case studies. Organize research artifacts (personas, journey maps), wireframes at different fidelity levels, design iterations showing evolution, final high-fidelity designs, prototype recordings, testing insights, and quantitative results if available.
Daily Task: Create organized folders for each project with all assets properly named and ready for portfolio inclusion.
Day 67: Week Review & First Case Study Draft
Complete a full draft of your primary case study incorporating everything learned this week. Ensure it tells a compelling story, demonstrates your process, highlights your unique contributions, and showcases both thinking and execution.
Daily Task: Finish your first complete case study draft. Get feedback from at least two other designers or mentors.
Week 10: Major Capstone Project (Days 68-74)
Day 68-70: Defining Your Capstone Project
Select and scope a major capstone project that demonstrates your full skillset. Choose between redesigning an existing product with significant usability issues, designing a solution for a real social problem (Design for Social Good), or creating something entirely new addressing an unmet need. Spend these three days on comprehensive research, competitive analysis, user interviews, and problem definition.
Daily Task (Days 68-70): Complete all research and discovery work for your capstone project. Create personas, journey maps, problem statements, and information architecture before touching design tools.
Day 71-72: Design & Iteration Sprint
Execute rapid design iterations incorporating everything learned across 10 weeks. Create wireframes, gather peer feedback, build high-fidelity designs, develop interactive prototypes, and conduct quick usability tests. Work in focused design sprints with clear daily goals.
Daily Task (Days 71-72): Design and prototype your complete capstone project. Focus on quality execution demonstrating advanced skills.
Day 73: A/B Testing & Final Refinements
Conduct A/B testing with peers or potential users comparing different design approaches. Gather feedback on which solutions work better and why. Make final refinements based on data and insights before finalizing your design.
Daily Task: Test alternative designs for key screens and make evidence-based decisions about which to include in your final version.
Day 74: Design Handoff & Documentation
Practice professional design handoff procedures. Organize your Figma file with proper naming, create a handoff document explaining interactions and behaviors, annotate complex features, prepare exportable assets, and write developer notes. This demonstrates you understand the full product development lifecycle.
Daily Task: Complete full design handoff documentation for your capstone project as if passing it to a development team.
Week 11: Building Professional Presence (Days 75-81)

Day 75: Portfolio Website Setup
Create your portfolio website showcasing your work professionally. Choose between platforms like Behance, Dribbble, personal website (Webflow, Framer, WordPress), or portfolio-specific sites like Carbonmade. Prioritize clear navigation, fast loading, mobile responsiveness, and focus on case studies over just pretty images.
Daily Task: Select your portfolio platform and set up the basic structure with placeholder pages for each case study.
Day 76: Creating Portfolio Homepage & About Page
Design your portfolio homepage to make strong first impressions. Include a clear headline explaining what you do, featured projects with compelling thumbnails, brief introduction to your approach, and clear call-to-action. Craft your About page sharing your story, design philosophy, skills, and personality.
Daily Task: Write and design your portfolio homepage and About page. Ensure they communicate your brand clearly within seconds.
Day 77: Adding All Case Studies
Upload and format all your case studies to your portfolio. Ensure consistency in presentation style, include project thumbnails and descriptions, add appropriate tags or categories, and verify all images load quickly. Quality over quantity—2-3 excellent case studies trump 10 mediocre ones.
Daily Task: Publish all your case studies to your portfolio with polished presentation. Test viewing experience on different devices.
Day 78: Optimizing LinkedIn Profile for UI/UX
Transform your LinkedIn into a powerful job-search tool. Update your headline to highlight UI/UX Designer, write a compelling About section telling your design story, list all relevant skills (Figma, user research, prototyping, etc.), add your portfolio link prominently, and include project samples in your Featured section.
Daily Task: Completely revamp your LinkedIn profile specifically for UI/UX roles. Ensure it’s optimized for recruiter searches.
Day 79: Building Online Presence
Expand your visibility across design communities. Create accounts on Behance (showcase work), Dribbble (join design community), Medium (write about your design process), Twitter/X (follow design leaders), and relevant design forums. Start engaging with other designers’ work through thoughtful comments.
Daily Task: Set up profiles on at least three design platforms and share your best project. Begin following influential designers in your areas of interest.
Day 80: Networking & Finding Mentors
Learn that who you know matters as much as what you know. Join local UX meetups or online communities, attend virtual design events and webinars, participate in design challenges and hackathons, reach out to designers for informational interviews, and seek potential mentors who can guide your growth.
Daily Task: Identify 5-10 designers you admire and send personalized connection requests. Join at least two active design communities (Reddit’s r/userexperience, Designer Hangout Slack, etc.).
Day 81: Week Review & Personal Branding Consistency
Ensure your brand is consistent across all platforms. Use the same profile photo, similar bio descriptions, consistent portfolio link, and unified visual style. Make it easy for recruiters to find and remember you.
Daily Task: Audit all your online profiles for consistency. Update any outdated information and ensure unified branding.
Week 12: Interview Preparation & Job Search (Days 82-90)
Day 82: Understanding the UX Interview Process
Learn what to expect in UI/UX interviews. Understand common interview stages: portfolio review presentation, design challenge or whiteboard exercise, behavioral questions about teamwork and process, culture fit conversations, and portfolio presentation deep-dives. Different companies have different processes—research each one.
Daily Task: Research the interview process at 10 companies you’d like to work for. Note commonalities and unique requirements.
Day 83: Preparing Portfolio Presentations
Master presenting your work confidently and clearly. Practice walking through each case study in 5-10 minutes, explaining your research approach, describing design decisions and alternatives considered, discussing challenges faced and how you overcame them, and demonstrating impact or outcomes. Practice makes perfect.
Daily Task: Record yourself presenting your best case study. Watch it back and identify areas for improvement in clarity, pacing, and confidence.
Day 84: Design Challenge Preparation
Prepare for take-home design challenges and whiteboard exercises. Learn to clarify requirements before starting, think aloud during whiteboard sessions, balance speed with thoroughness, demonstrate your process not just final designs, and ask smart questions showing your strategic thinking.
Daily Task: Complete a practice design challenge from websites like Daily UI or UX Challenge. Time yourself and practice presenting your solution.
Day 85: Behavioral Interview Questions
Prepare answers for common behavioral questions using the STAR method (Situation, Task, Action, Result). Practice answering: “Tell me about a time you received difficult feedback,” “Describe a design you’re proud of and why,” “How do you handle disagreements with stakeholders,” “Tell me about a project that didn’t go as planned,” and “How do you stay updated with design trends”.
Daily Task: Write and practice STAR-method answers for 10 common behavioral questions. Focus on stories demonstrating problem-solving, collaboration, and resilience.
Day 86: Job Search Strategy & Applications
Develop a systematic job search approach. Target specific companies and roles, customize your resume for each application, write compelling cover letters referencing specific projects, apply on multiple platforms (LinkedIn, Naukri, Internshala, company career pages), and track all applications in a spreadsheet.
Daily Task: Create a job search tracker and apply to at least 5 UI/UX positions with customized applications. Include resume, portfolio link, and personalized cover letters.
Day 87: Resume & Cover Letter Optimization
Perfect your resume specifically for UI/UX roles. Highlight relevant skills prominently (Figma, Sketch, Adobe XD, user research, prototyping, usability testing), quantify achievements where possible (“improved conversion by 15%”), include education and relevant courses, add portfolio link at top, and keep it to 1-2 pages maximum.
Daily Task: Create three resume versions targeted at different role types: UX Researcher, UI Designer, and Product Designer. Tailor each to emphasize relevant strengths.
Day 88-89: Mock Interviews & Practice
Conduct full mock interviews with peers, mentors, or using services like Pramp. Practice portfolio presentations, answer common questions, receive feedback on your communication style, work on nervous habits, and build confidence through repetition.
Daily Task (Days 88-89): Complete at least two full mock interviews. Record them if possible to review your performance objectively.
Day 90: Final Review & Career Launch
Celebrate completing your 90-day transformation from beginner to job-ready UI/UX designer. Review everything you’ve accomplished: comprehensive research skills, systematic design process, advanced Figma proficiency, completed portfolio with multiple case studies, professional online presence, and interview readiness.
Daily Task: Do a final audit of your entire job search toolkit: portfolio, resume, LinkedIn, practice interviews, and target company list. Make final refinements and begin actively applying.
🛣️ Explore Complete UI/UX Career Paths
Plan your long-term growth—from Junior Designer to Lead UX, Product Designer & beyond—with our
UI/UX Career Path
4. Career Paths After Course Completion
Understanding Job Platforms for UI/UX Designers
The Indian UI/UX job market offers multiple pathways to find opportunities. LinkedIn Jobs remains the primary platform where 82% of design roles are posted, with advanced filters for experience level, location, and company size. Naukri.com and Indeed India capture traditional corporate openings, particularly in established companies and service firms.
For freelance opportunities, explore Upwork and Toptal (for experienced designers) which connect you with global clients. AngelList specializes in startup positions perfect for designers wanting high-impact roles. Dribbble and Behance allow you to be discovered through your work, with many companies directly hiring from these platforms.
Design-specific job boards like Awwwards, UX Designer Jobs, and We Work Remotely curate quality opportunities. Don’t underestimate direct applications—visiting company career pages of organizations you admire often reveals unlisted opportunities.
💡 Pro Tip: At Frontlines Edutech, our placement support team provides personalized guidance on navigating these platforms, optimizing your applications for maximum visibility, and connecting you directly with hiring partners across Bangalore, Hyderabad, Pune, Mumbai, Chennai, and other major tech hubs.
➡️ Want detailed job search strategies, salary negotiation tips, and insider insights from recruiters? Access our complete “UI/UX Job Search Master Guide” available exclusively to Frontlines Edutech students.
Profile Optimization That Gets Noticed
Your online profiles are your 24/7 representatives to recruiters and hiring managers LinkedIn optimization starts with a professional headshot showing approachability, a headline like “UI/UX Designer | Creating Delightful Digital Experiences | Figma Expert,” and a summary that tells your design story in first person.
Your Featured section should showcase your three best case studies with compelling thumbnails and descriptions that intrigue viewers to click through. Skills endorsements matter—ensure “Figma,” “User Research,” “Prototyping,” “Wireframing,” and “Usability Testing” are prominently listed and endorsed.
Portfolio optimization requires fast-loading images (under 1MB each), mobile-responsive design, clear navigation requiring maximum two clicks to reach any case study, prominent email and LinkedIn links, and SEO optimization with keywords like “UI designer Bangalore” or “UX researcher portfolio”.
Behance and Dribbble presence extends your reach exponentially. Post your work consistently, engage with others’ projects through meaningful feedback, use relevant tags for discoverability, and participate in design challenges to gain followers.
📈 Growth Hack: Frontlines Edutech students receive profile audit services where experienced designers review your LinkedIn, portfolio, and Behance presence, providing personalized recommendations that increase recruiter engagement by an average of 214%.
➡️ Get your profile professionally audited with our “Design Profile Optimization Checklist”—a 47-point comprehensive review available in our exclusive student resources portal.
Mastering UI/UX Interviews
Interview success requires preparation across multiple dimensions. Portfolio presentations should focus on storytelling—explain the problem context compellingly, walk through your research methodology showing genuine curiosity about users, describe your ideation process including rejected alternatives, demonstrate design decisions with clear rationale, and conclude with measurable outcomes or learning insights.
Whiteboard challenges test your thinking process more than final designs. Start by clarifying the problem and asking smart questions about users, business goals, and constraints. Think aloud continuously, explaining your reasoning as you sketch. Don’t jump to solutions immediately—demonstrate research instincts first. Welcome feedback and iterate based on input, showing collaboration skills.
Common technical questions include explaining your design process from research to delivery, describing how you handle conflicting stakeholder feedback, discussing how you measure design success, explaining how you stay current with design trends, and walking through a challenging project and what you learned.
Behavioral questions assess cultural fit. Prepare stories demonstrating collaboration skills, handling criticism constructively, meeting tight deadlines, advocating for users against business pressure, and learning from failed designs.
🎯 Interview Edge: Frontlines Edutech provides exclusive interview preparation sessions with industry professionals, personalized feedback on portfolio presentations, access to a database of 200+ actual interview questions from top companies, and mock interview opportunities with experienced designers who provide actionable feedback.
➡️ Access our comprehensive “UI/UX Interview Preparation Guide” with company-specific preparation strategies, sample case study presentations, and video tutorials on whiteboard exercises.
5.Why Choose Frontlines Edutech for Your UI/UX Journey?
This 90-day roadmap provides everything you need to become a professional UI/UX designer, from foundational concepts through advanced techniques to job-ready portfolio development. The structure eliminates guesswork, providing daily clarity on exactly what to learn and practice.
Following this path systematically, dedicating 3-4 hours daily to focused learning and practice, you’ll develop skills that typically take 6-12 months through unstructured learning. The key is consistency—show up every day, complete the tasks, seek feedback, and iterate relentlessly.
The UI/UX field rewards problem-solvers who genuinely care about users, think systematically, communicate clearly, and continuously learn. These qualities matter more than innate artistic talent or technical background. Anyone with curiosity, empathy, and dedication can succeed.
The question isn’t whether you can become a UI/UX designer—it’s whether you’re ready to commit to the journey.
At Frontlines Edutech, we bridge the gap between learning and earning, turning motivated learners into highly skilled professionals sought after by top companies. Our mission is eliminating unemployment by equipping youth with practical, industry-aligned skills that lead directly to meaningful careers.
We understand the challenges of career transitions because we’ve guided thousands through this exact journey. Our comprehensive support system ensures you’re never alone—from your first day learning UX fundamentals through landing your first design role and beyond.
Your future as a UI/UX designer starts with a single decision today.
📞 Ready to Transform Your Career in 90 Days?
Contact Frontlines Edutech:
- Phone: +91-83330 77727
- Email: media.frontlines@gmail.com
- Website: www.frontlinesedutech.com
Follow Our Journey:
- LinkedIn: Frontlines Edutech Private Limited
- Instagram: Frontlines Media
- Facebook: Frontlines Edutech
Join thousands of successful graduates who chose Frontlines Edutech to launch their UI/UX design careers. Your transformation awaits.
🎯 Your Python Full Stack Career Starts Today
Continue your learning journey with expert-led training and hands-on practice.